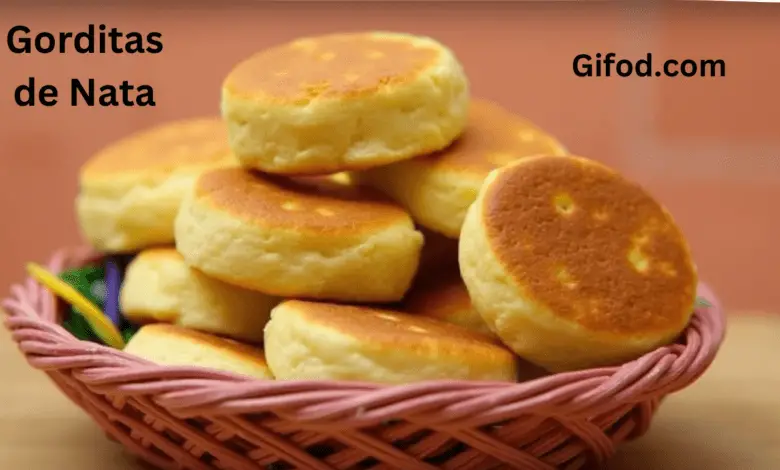
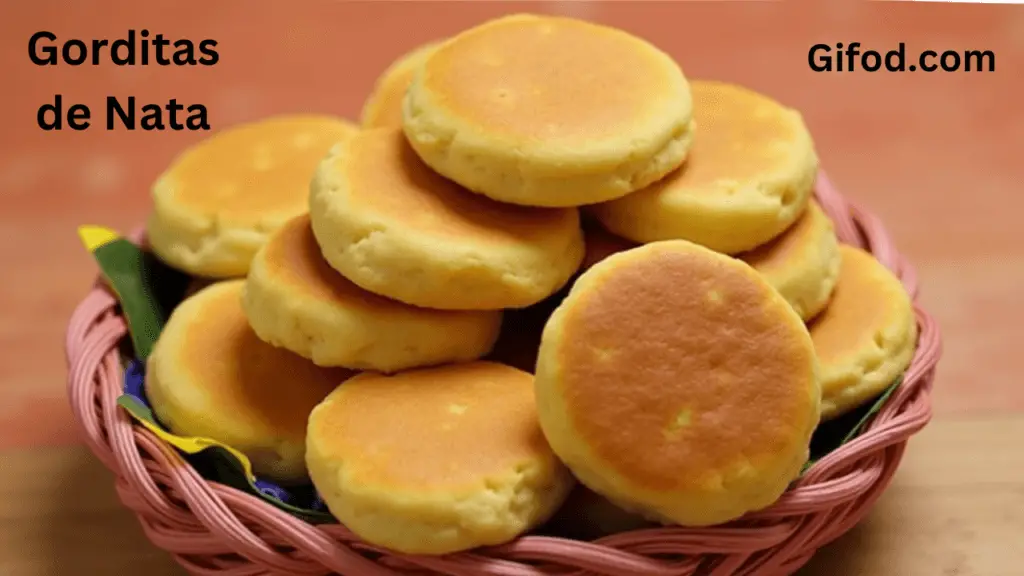
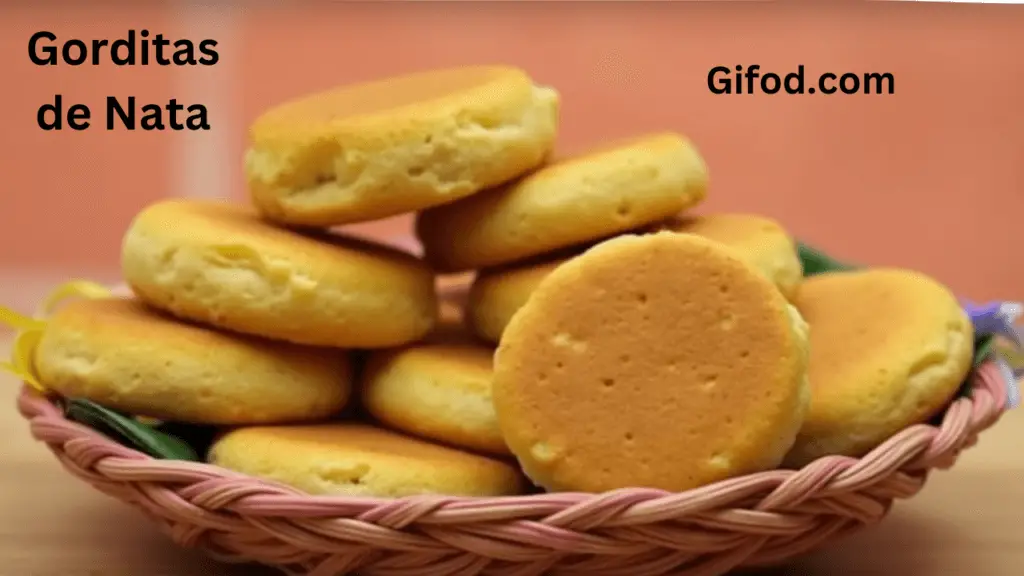
Gorditas de nata are a beloved Mexican treat, a sweet and fluffy indulgence that captivates with its delicate texture and rich, creamy flavor. These little “fat cakes” (the literal translation of “gordita”) are made with nata, the thick cream that forms on top of boiled milk, giving them their signature richness. Unlike savory gorditas, these are purely sweet, often enjoyed as a breakfast pastry, dessert, or snack alongside a cup of coffee or hot chocolate.
This comprehensive guide will walk you through making authentic gorditas de nata from scratch. We’ll cover everything from understanding the key ingredients and techniques to troubleshooting common issues and exploring variations. Get ready to embark on a culinary journey that will transport you to the heart of Mexico!
1. Understanding Gorditas de Nata: More Than Just a Sweet Treat
Before diving into the recipe, let’s appreciate the cultural significance and unique characteristics of gorditas de nata.
1.1. A Taste of Mexican Tradition
Gorditas de nata are deeply rooted in Mexican culinary tradition. They are particularly popular in central Mexico, often found in markets, street stalls, and panaderías (bakeries). The use of nata is a testament to the resourcefulness of Mexican cuisine, utilizing every part of the milk to create something delicious and unique. The recipe has been passed down through generations, each family often adding their own subtle twist.
1.2. What Makes Gorditas de Nata Special?
The defining characteristic of gorditas de nata is, unsurprisingly, the nata. This ingredient provides:
- Richness: Nata has a high fat content, contributing to the luxurious, melt-in-your-mouth texture of the gorditas de nata.
- Flavor: Nata has a slightly sweet, milky flavor that is distinct from regular cream. It adds a depth of flavor that is both comforting and indulgent.
- Moisture: The nata helps to keep the gorditas moist and tender, preventing them from becoming dry or crumbly.
1.3. Gorditas de Nata vs. Other Sweet Breads
While gorditas de nata might resemble other sweet breads, there are key differences:
- Texture: They are softer and more pillowy than many other pastries, thanks to the nata and the cooking method (typically on a comal or griddle).
- Flavor Profile: The nata provides a unique milky sweetness that sets them apart from pastries made with regular cream or butter.
- Shape: They are typically small, round, and slightly flattened, resembling a thick pancake or a small, plump disc.
2. Authentic Gorditas de Nata Recipe
This recipe delivers authentic gorditas de nata with a focus on traditional techniques and ingredients.
2.1. Ingredients
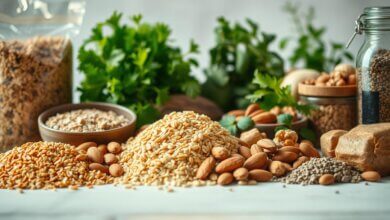
- Nata: 1 cup (240ml). This is the star ingredient. If you can’t find commercially prepared nata, see the section below on how to make your own. The quality of the nata directly impacts the flavor and texture of the gorditas de nata.
- All-Purpose Flour: 2 cups (250g), plus extra for dusting. All-purpose flour provides the structure for the gorditas de nata.
- Sugar: ½ cup (100g). Adjust to your preference, but this amount provides a balanced sweetness.
- Baking Powder: 2 teaspoons. This is the leavening agent, creating the light and fluffy texture.
- Salt: ¼ teaspoon. Salt enhances the flavors and balances the sweetness.
- Egg: 1 large. The egg adds richness and helps bind the ingredients.
- Vanilla Extract: 1 teaspoon. Vanilla complements the nata flavor beautifully.
- Butter (for cooking): 1-2 tablespoons, unsalted. This is used to grease the comal or griddle.
2.2. Equipment
- Large mixing bowl
- Whisk
- Spatula
- Measuring cups and spoons
- Comal (traditional Mexican griddle) or a large, heavy-bottomed skillet or griddle
- Rolling pin (optional)
- Parchment paper (optional)
2.3. Step-by-Step Instructions
Step 1: Prepare the Dough
- Combine Dry Ingredients: In the large mixing bowl, whisk together the flour, sugar, baking powder, and salt. Ensure everything is evenly distributed.
- Whisk Wet Ingredients: In a separate bowl, whisk together the nata, egg, and vanilla extract until well combined.
- Combine Wet and Dry: Gradually add the wet ingredients to the dry ingredients, mixing with a spatula until a soft, slightly sticky dough forms. Do not overmix; a few lumps are okay.
- Rest the Dough (Optional): Cover the bowl with plastic wrap and let the dough rest at room temperature for 15-30 minutes. This allows the gluten to relax, resulting in a more tender gorditas de nata. This step isn’t strictly necessary, but it improves the texture.
Step 2: Shape the gorditas de nata
- Lightly Flour: Lightly flour a clean work surface.
- Divide the Dough: Divide the dough into 8-10 equal portions.
- Shape: Gently roll each portion into a ball, then flatten it into a disc about ½ inch thick. You can use your hands or a rolling pin. If using a rolling pin, be gentle to avoid making the gorditas de nata too thin. They should be plump, not flat.
- Tip: If the dough is too sticky, lightly flour your hands or the rolling pin.
Step 3: Cook the Gorditas
- Heat the Comal/Griddle: Heat the comal or griddle over medium heat. You want it hot enough to cook the gorditas evenly but not so hot that they burn.
- Grease the Surface: Lightly grease the comal or griddle with butter.
- Cook: Place the gorditas on the hot surface, leaving some space between them. Cook for 2-3 minutes per side, or until golden brown and cooked through. They should puff up slightly as they cook.
- Tip: If the gorditas are browning too quickly, reduce the heat. If they are not puffing up, the heat might be too low.
- Check for Doneness: To check for doneness, insert a toothpick into the center of a gordita. If it comes out clean or with a few moist crumbs, they are done.
Step 4: Serve and Enjoy!
- Serve Warm: Gorditas de nata are best enjoyed warm.
- Optional Toppings: While delicious on their own, you can serve them with:
- A sprinkle of powdered sugar
- A drizzle of honey or piloncillo syrup
- A dollop of whipped cream
- Fresh fruit
3. How to Make Nata at Home
If you can’t find commercially prepared nata, you can make your own. It’s a simple process, but it requires time and patience.
3.1. Ingredients
- Whole Milk: 1 gallon (or less, depending on how much nata you need). Use the freshest, highest-quality whole milk you can find. Avoid ultra-pasteurized milk, as it may not form nata as well. Raw milk is ideal, if available and safe to consume in your area.
3.2. Instructions
- Slowly Heat the Milk: Pour the milk into a large, heavy-bottomed pot. Heat the milk over very low heat. The goal is to bring the milk to a very gentle simmer, not a rolling boil. This process can take several hours, depending on the amount of milk and the heat level.
- Maintain the Simmer: Once the milk reaches a simmer, maintain that low heat. Do not stir the milk. As the milk simmers, a thick layer of cream (nata) will begin to form on the surface.
- Cool and Collect: After several hours (typically 4-8 hours, or even longer), when a thick layer of nata has formed, carefully remove the pot from the heat. Allow the milk to cool completely, preferably overnight in the refrigerator. This allows the nata to solidify further.
- Skim the Nata: Once the milk is completely cold, carefully skim the nata from the surface using a slotted spoon or a ladle. Be gentle to avoid breaking the nata layer.
- Store: Store the nata in an airtight container in the refrigerator for up to a week.
Important Notes:
- Patience is Key: Making nata is a slow process. Don’t rush it by increasing the heat, as this can scorch the milk and prevent the nata from forming properly.
- Yield: The yield of nata will vary depending on the milk used and the simmering time. A gallon of milk might yield 1-2 cups of nata.
- Leftover Milk: The milk remaining after skimming the nata can still be used for other purposes, such as making yogurt, cheese, or simply drinking.
4. Troubleshooting Common Issues
Even with a perfect recipe, things can sometimes go wrong. Here are some common issues and how to fix them:
4.1. Gorditas are Too Dry
- Possible Causes:
- Not enough nata
- Overmixed dough
- Overcooked gorditas
- Dough was too thin
- Solutions:
- Ensure you’re using enough nata. If your nata is thin, you may need to use more.
- Mix the dough just until combined. Overmixing develops the gluten, making the gorditas tough.
- Reduce cooking time and/or lower the heat.
- Make sure the gorditas are about ½ inch thick before cooking.
4.2. Gorditas are Too Dense
- Possible Causes:
- Not enough baking powder
- Old baking powder
- Dough was too thick
- Solutions:
- Use the correct amount of baking powder.
- Check the expiration date on your baking powder. Old baking powder loses its effectiveness.
- Make sure the gorditas are not thicker than ½ inch.
4.3. Gorditas are Not Puffing Up
- Possible Causes:
- Heat is too low
- Not enough baking powder
- Old baking powder
- Solutions:
- Increase the heat slightly.
- Use the correct amount of baking powder.
- Check the expiration date on your baking powder.
4.4. Gorditas are Burning
- Possible Causes:
- Heat is too high
- Too much butter on the comal/griddle
- Solutions:
- Reduce the heat.
- Use less butter.
4.5. Dough is Too Sticky
- Possible Cause: Too much liquid/not enought flour.
- Solutions:
- Lightly flour your hands and work surface.
- If it is extremely sticky, incorporate a little more flour, a tablespoon at the time, until the desired consistency is reached.
5. Variations and Serving Suggestions
While the traditional recipe is delicious, you can experiment with variations:
5.1. Flavor Variations
- Cinnamon Gorditas: Add 1 teaspoon of ground cinnamon to the dry ingredients.
- Orange Zest Gorditas: Add 1 tablespoon of orange zest to the wet ingredients.
- Chocolate Chip Gorditas: Gently fold in ½ cup of mini chocolate chips into the dough.
- Brown Sugar Gorditas: Substitute brown sugar for granulated sugar for a richer, molasses-like flavor.
5.2. Serving Suggestions
- Breakfast: Serve with a side of fresh fruit and a cup of coffee or Mexican hot chocolate.
- Dessert: Top with whipped cream and a drizzle of chocolate sauce or caramel.
- Snack: Enjoy them on their own or with a glass of milk.
- Savory Twist: Although traditionally sweet, a small amount of shredded cheese (like Oaxaca or queso fresco) can be incorporated inside the dough before cooking for a sweet and savory combination. This is less common, but a delicious regional variation.
6. Nutritional Information (Approximate per Gordita – based on 8 servings)
- Calories: ~200-250
- Fat: ~10-15g
- Saturated Fat: ~6-8g
- Cholesterol: ~30-40mg
- Sodium: ~50-70mg
- Carbohydrates: ~25-30g
- Sugar: ~10-12g
- Protein: ~3-4g
Note: These values are estimates and will vary depending on the specific ingredients and serving size. The use of homemade nata will significantly increase the fat content.
7. Frequently Asked Questions (FAQ)
Q: Can I use regular cream instead of nata?
A: While you can technically substitute heavy cream, it won’t be the same. Nata has a unique flavor and texture that heavy cream can’t replicate. The gorditas will still be tasty, but they won’t be authentically gorditas de nata.
Q: Can I make the dough ahead of time?
A: Yes, you can make the dough and refrigerate it for up to 24 hours. Let it come to room temperature for about 30 minutes before shaping and cooking.
Q: Can I freeze the gorditas?
A: Yes, you can freeze cooked gorditas. Let them cool completely, then wrap them individually in plastic wrap and place them in a freezer-safe bag. They can be frozen for up to 2 months. Reheat them in a warm oven or microwave.
Q: My nata didn’t thicken properly. What went wrong?
A: Several factors can affect nata thickening:
* Milk Type: Ultra-pasteurized milk may not work well. Use fresh, whole milk, preferably raw if available and safe.
* Heat: The heat must be very low and consistent. Too high of heat can scorch the milk and prevent nata formation.
* Time: It takes time for the nata to form, often several hours. Be patient.
Q: Can I use a different type of flour?
A: While all-purpose flour is traditional, you can experiment with other flours, such as whole wheat pastry flour, for a slightly different texture and flavor. However, be aware that this may affect the final result.
Q: What is a comal?
A: A comal is a traditional Mexican flat griddle, typically made of cast iron or clay. It’s used for cooking tortillas, quesadillas, and gorditas. If you don’t have a comal, a large, heavy-bottomed skillet or griddle will work.
8. Conclusion: Embrace the Sweetness of Gorditas de Nata
Making gorditas de nata is a rewarding experience that connects you to a rich culinary tradition. The process, while seemingly simple, requires attention to detail and a love for the ingredients. From the careful preparation of the nata to the gentle cooking on the comal, each step contributes to the final, delightful result.
Don’t be afraid to experiment with variations and find your own perfect gorditas de nata recipe. Whether you enjoy them as a breakfast treat, a sweet snack, or a comforting dessert, these little cakes are sure to bring a smile to your face and a taste of Mexico to your table. ¡Buen provecho! (Enjoy!) Remember to explore more delicious recipes at gifod.com.